
Quick start
the console on your computer.
Install, run the tests, compile, start the server and open the console. No provider key is needed for this part.
01Which terminal
The commands are typed in a terminal. On macOS open Terminal, on Linux any shell. You need Node.js 22.12 or newer and pnpm 10 (Requirements).
Use WSL (Ubuntu from the Microsoft Store, wsl --install) and type the commands inside it, or Git Bash. In PowerShell write Copy-Item .env.example .env instead of cp. Details: Windows.
02Six commands
# in the unzipped source/ folder
pnpm install
cp .env.example .env
openssl rand -hex 32        # paste the result into .env as ADMIN_SECRET_KEY
pnpm test                   # offline test suite, no keys needed
pnpm build                  # compiles the TypeScript sources to dist/
pnpm start                  # runs the compiled server (node dist/src/index.js)
The server listens on http://localhost:8080. On the first start the log prints a one-time setup code:
[admin] No owner account yet. Open /admin and create it with this one-time setup code:
    ABCD-EFGH-JKLM-NPQR
pnpm dev runs the sources directly and restarts on every file change. Use it only while you change the code; production always runs pnpm build and then pnpm start.
03Create the owner account
- Open the console at
http://localhost:8080/admin. - Enter the setup code from the log, your e-mail and a password of 12+ characters.
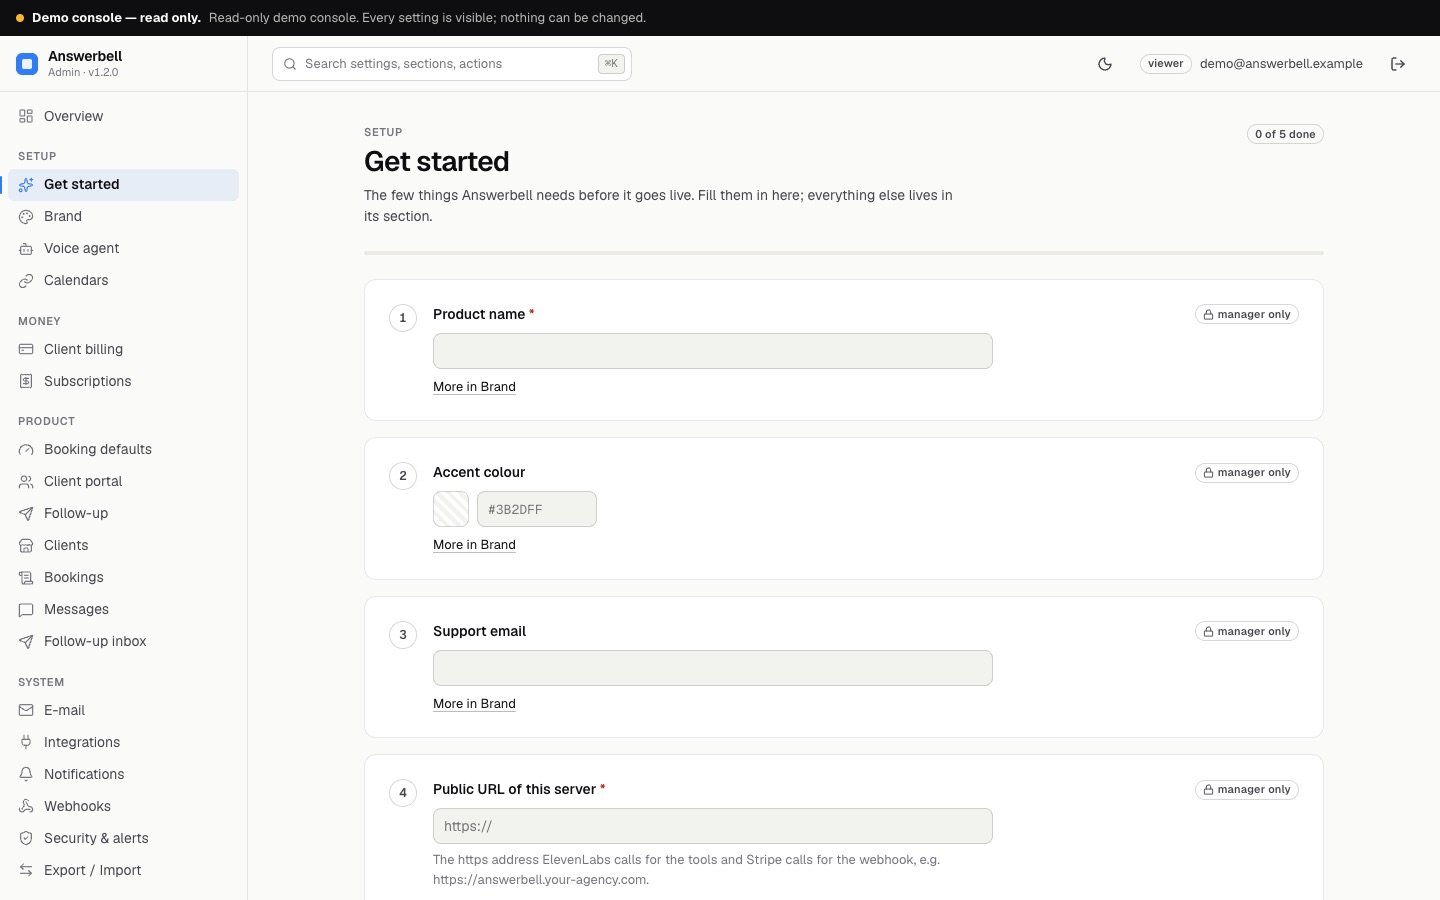
- Follow Get started: it lists the settings Answerbell needs before it can answer calls.
Nobody can create an account without a code from the server log.
04Next
Real calls need a public HTTPS address, because ElevenLabs and Stripe only call https URLs. Continue with Installation, then First client.